Install SQL Server/Express
- SQL Server 2016 Installation
- SQL Server 2017 Installation
- SQL Server Management Studio (SQL Server 2016 or higher only.)
- Allowing Access to the SQL Server from a Remote Computer
SQL Server 2016 Installation
- Download SQL Server Express. Downloads
-
Click <Run> on the File Download - Security Warning.

-
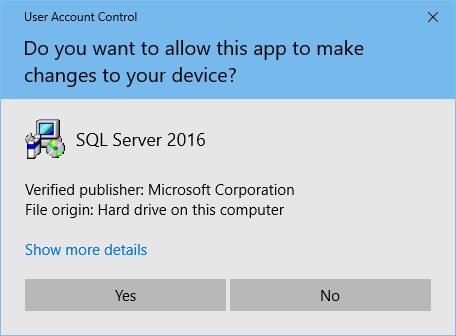
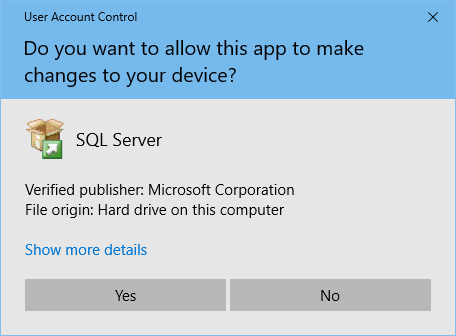
Click <Yes> on the User Account Control prompt.
-
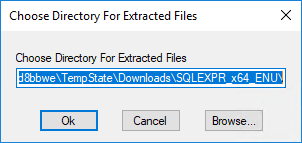
Click <Ok> on the Choose Directory for Extracted Files prompt.
-
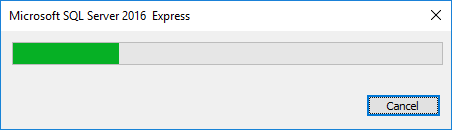
Wait for the files to extract.
-
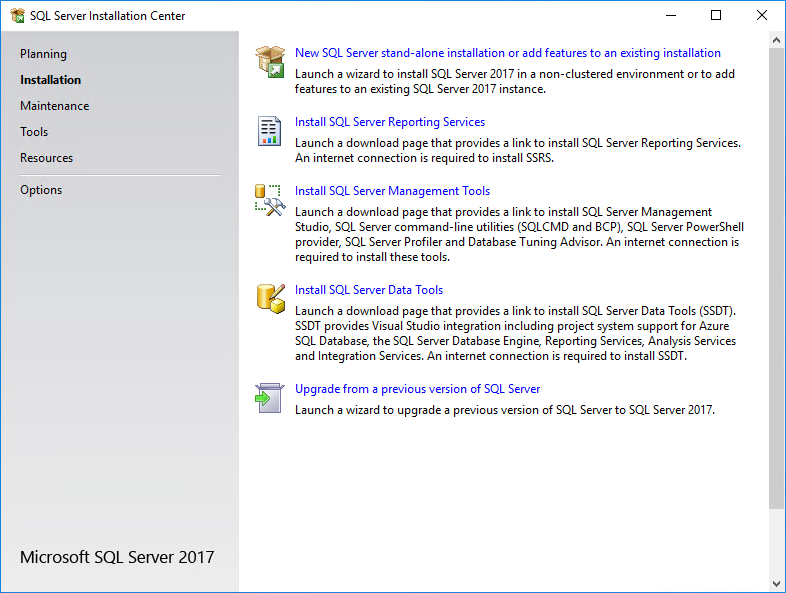
Click New SQL Server stand-alone installation or add features to an existing installation on the SQL Server Installation Center window.

-
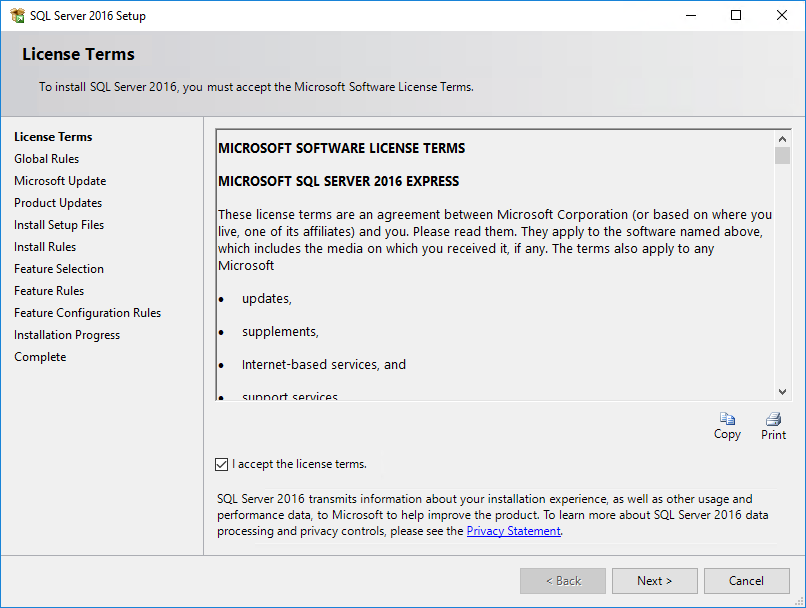
Accept the License Agreement and Click <Next>.
-
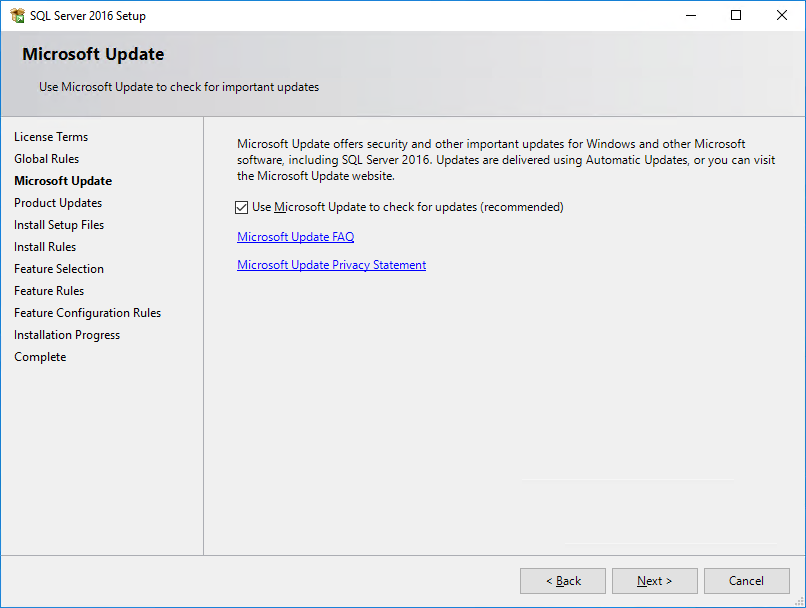
Select Use Microsoft Update and click <Next>.
-
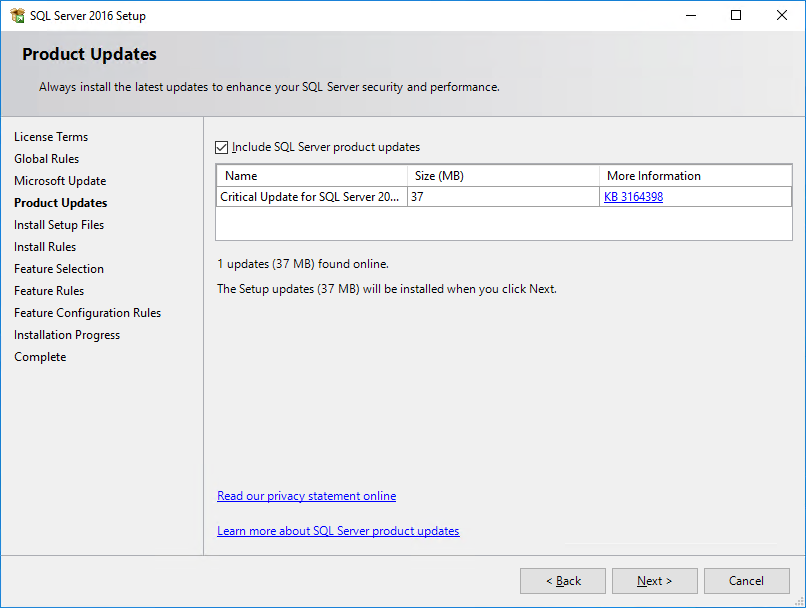
Click <Next> on the Product Updates window.
-
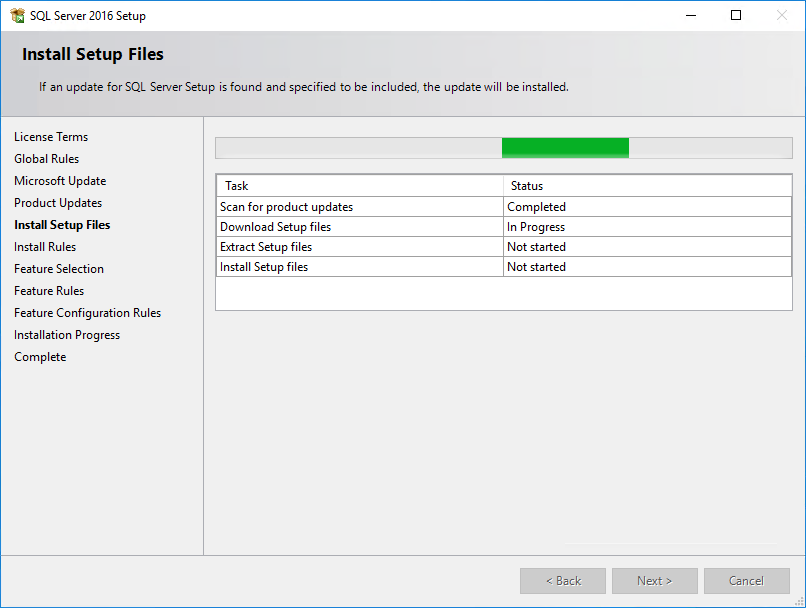
Wait for the updates to complete.
-
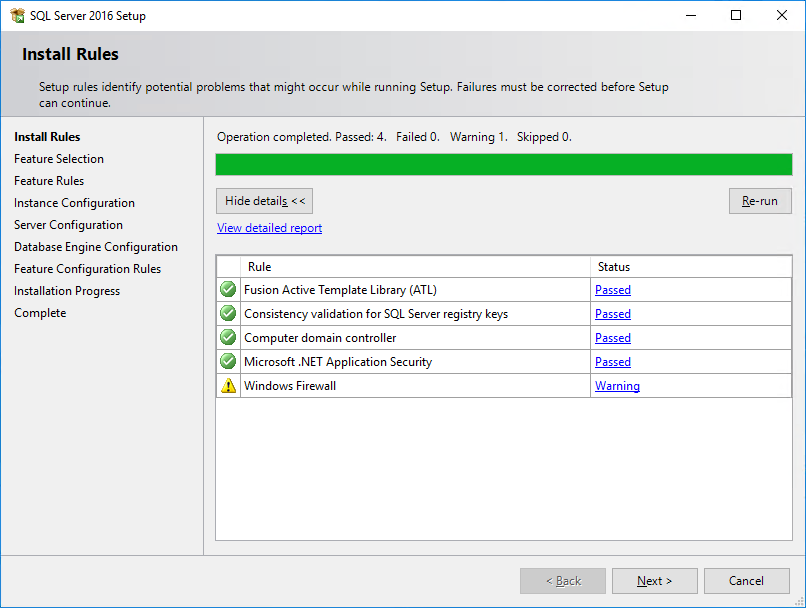
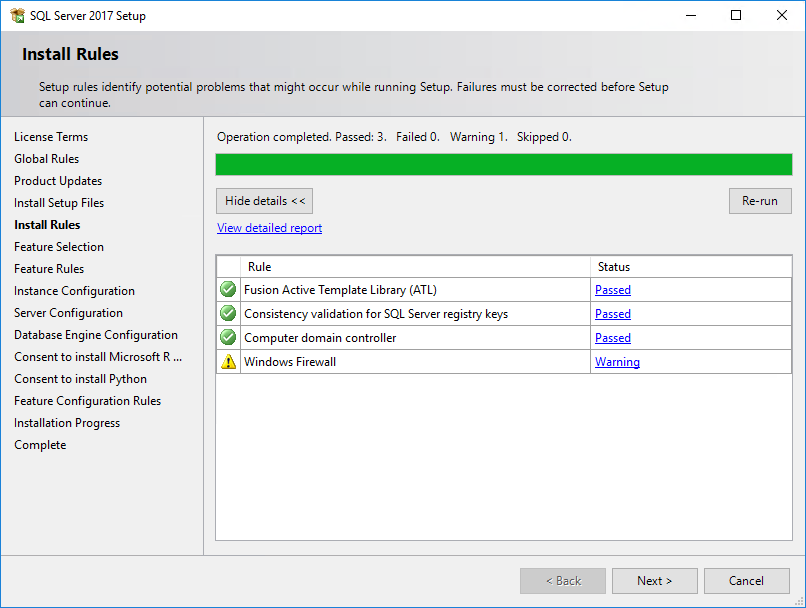
Click <Next> on the Setup Rules window.
-
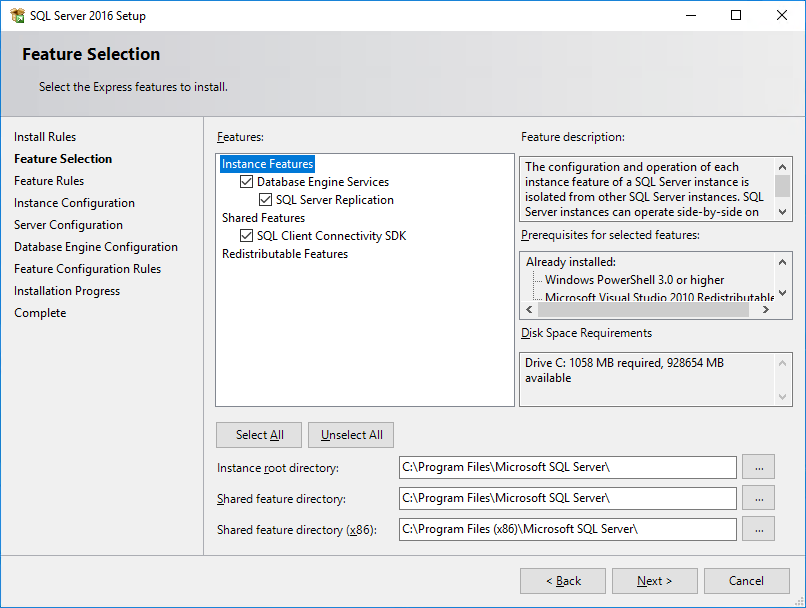
Click <Next> on the Feature Selection window.
-
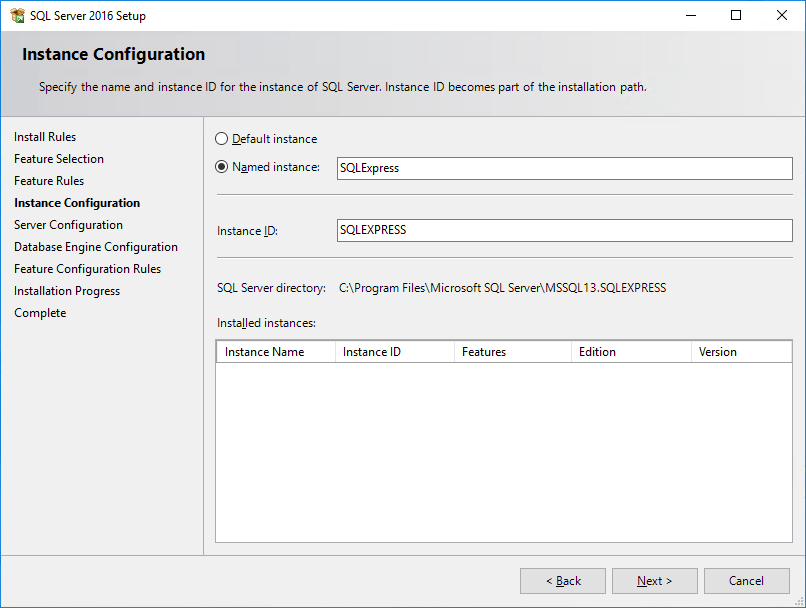
Click <Next> on the Instance Configuration window.
-
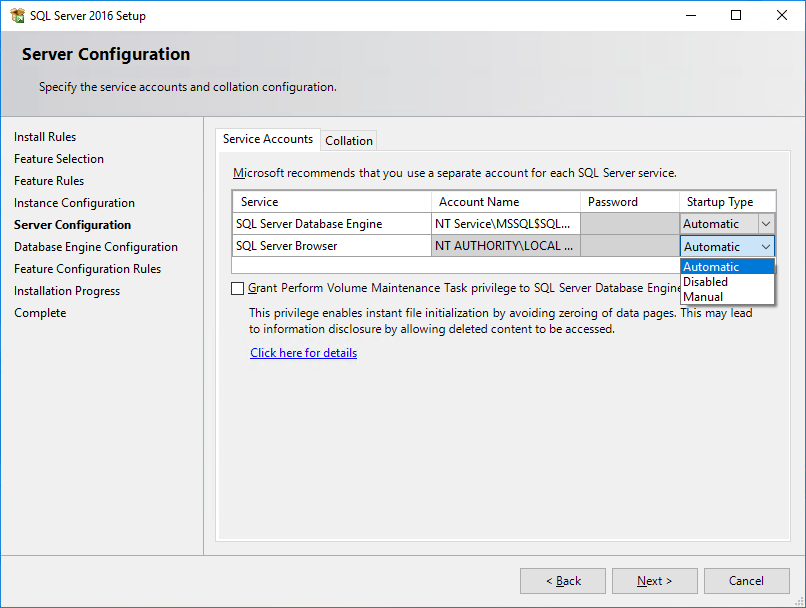
If you are using a multi-user program, change Disabled to Automatic. Click <Next>.
-
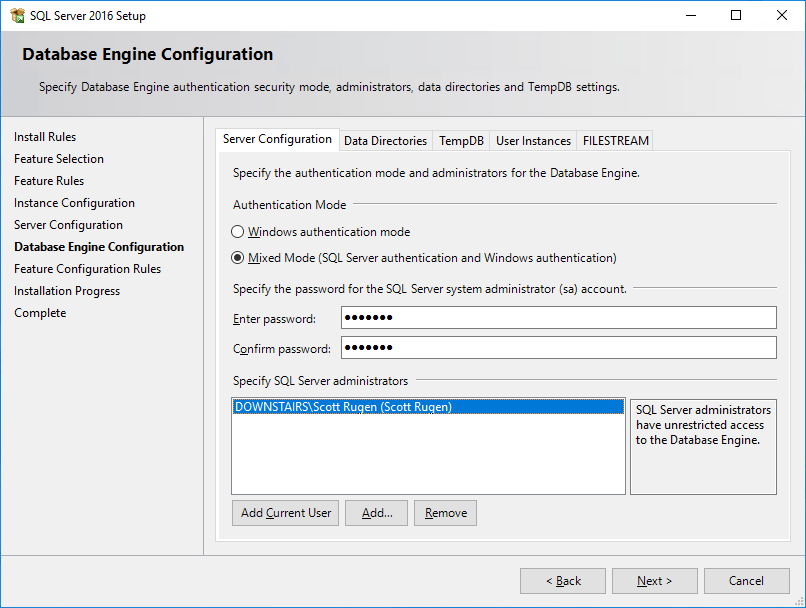
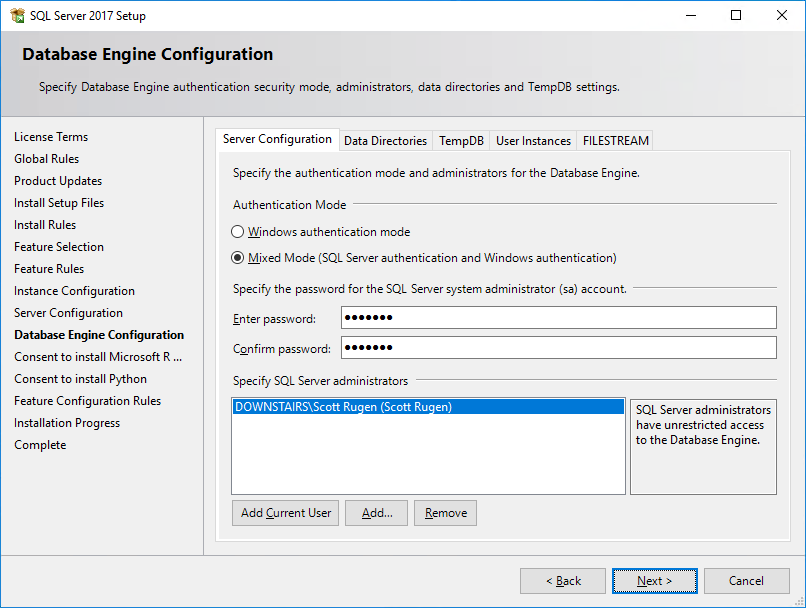
Change Windows authentication mode to Mixed mode (SQL Server authentication and Windows authentication), enter a password and click <Next>.
This password is used to connect to the SQL Server instance. The password 'rw4!123' is the SDR Software Support standard.
-
Wait for the program to install.
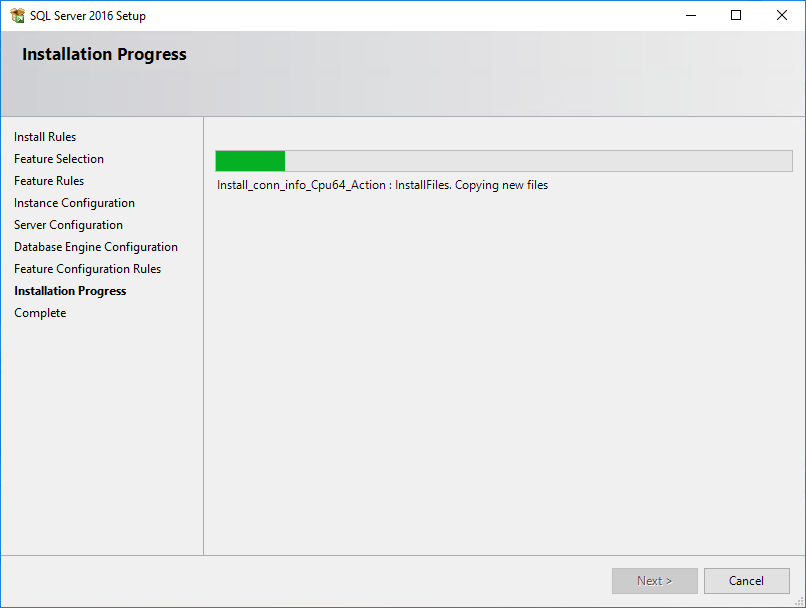
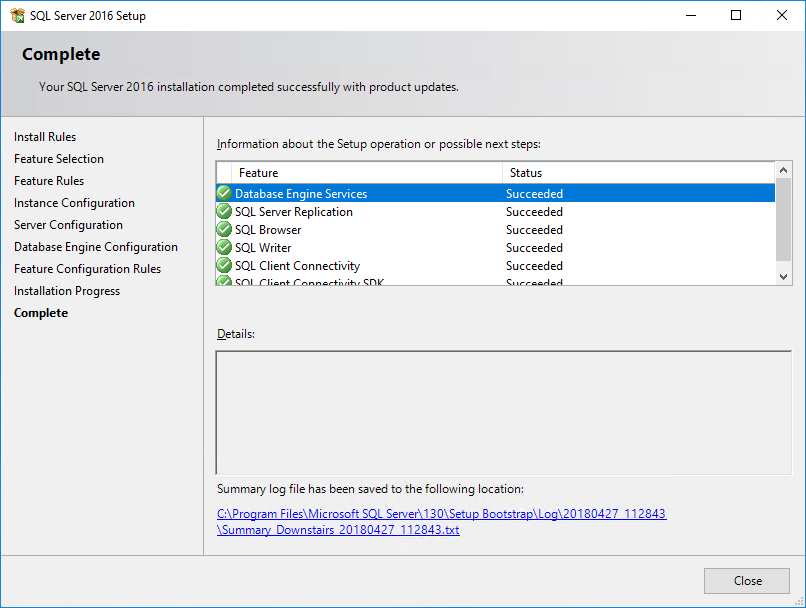
-
Click <Close> on the Complete window.
SQL Server 2017 Installation
- Download SQL Server Express. Downloads
-
Click <Run> on the File Download - Security Warning.

-
Click <Yes> on the User Account Control prompt.
-
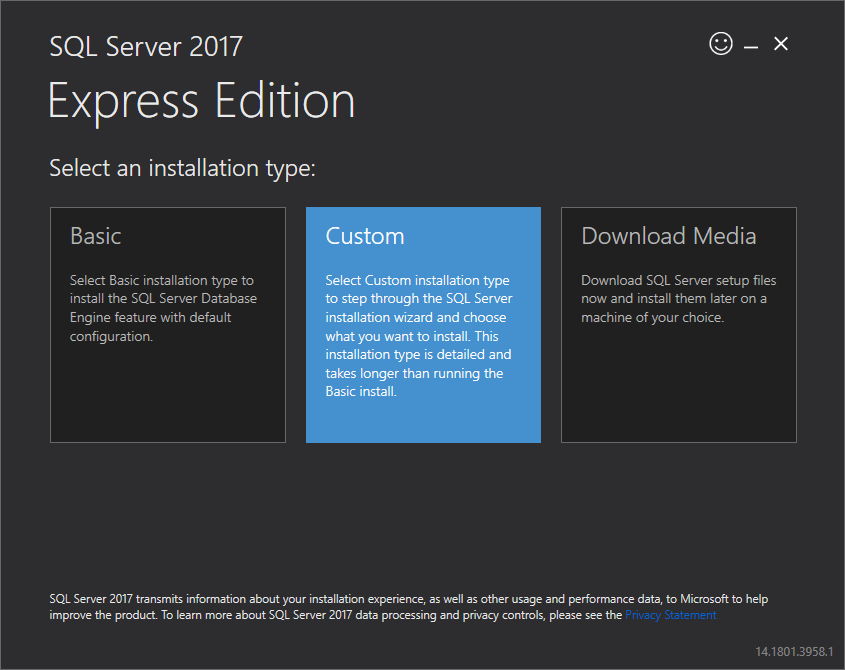
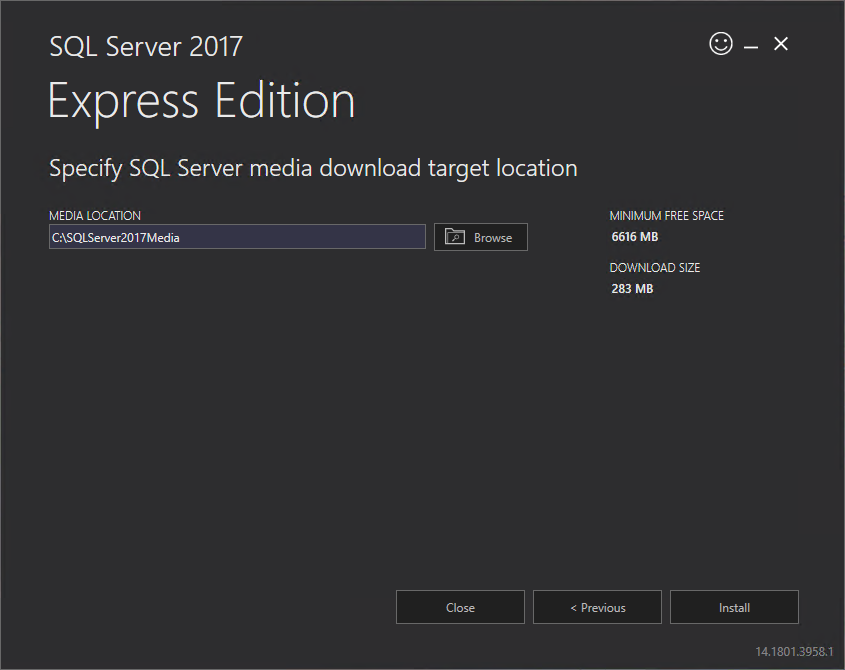
Select Custom installation type.
-
Click <Install>.
-
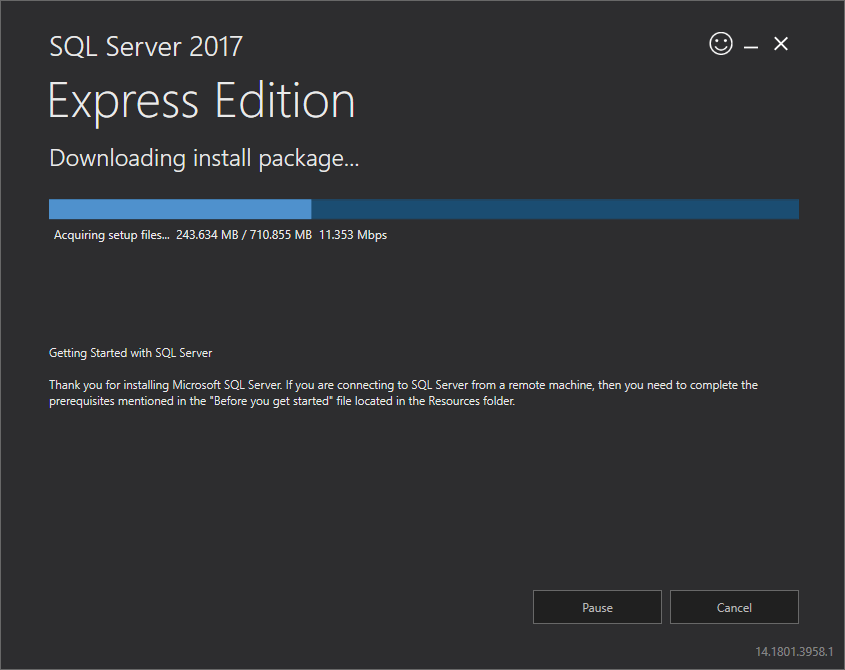
Wait while the program is downloaded and installed.
-
Click New SQL Server stand-alone installation or add features to an existing installation on the SQL Server Installation Center window.
-
Accept the License Agreement and Click <Next>.
-
Click <Next> on the Setup Rules window.
-
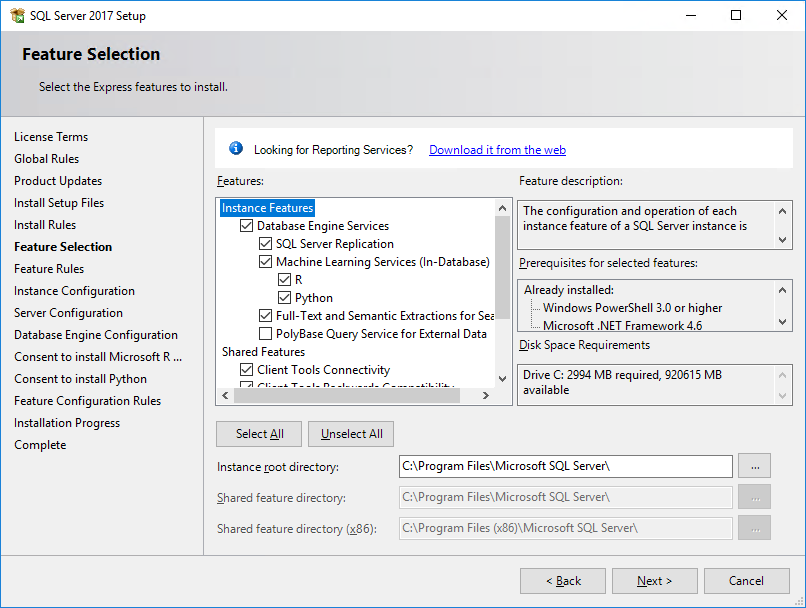
Click <Next> on the Feature Selection window.
-
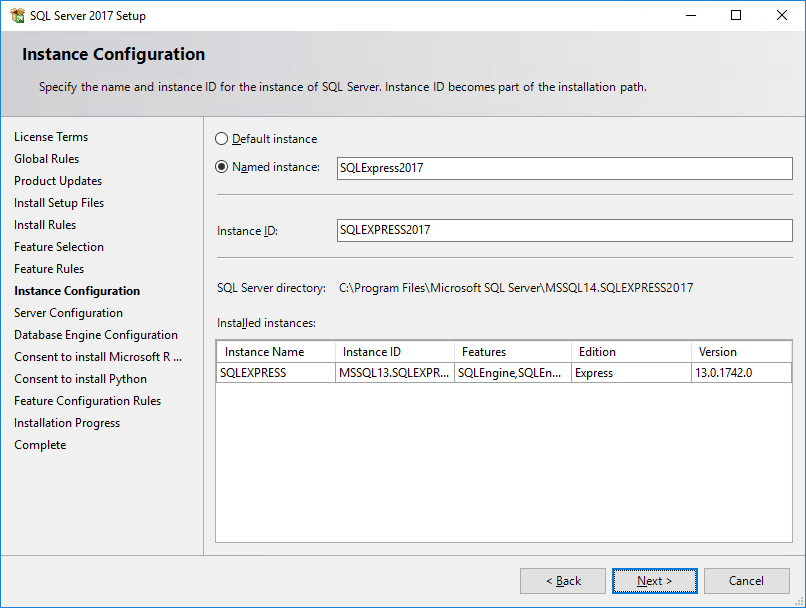
Click <Next> on the Instance Configuration window.
-
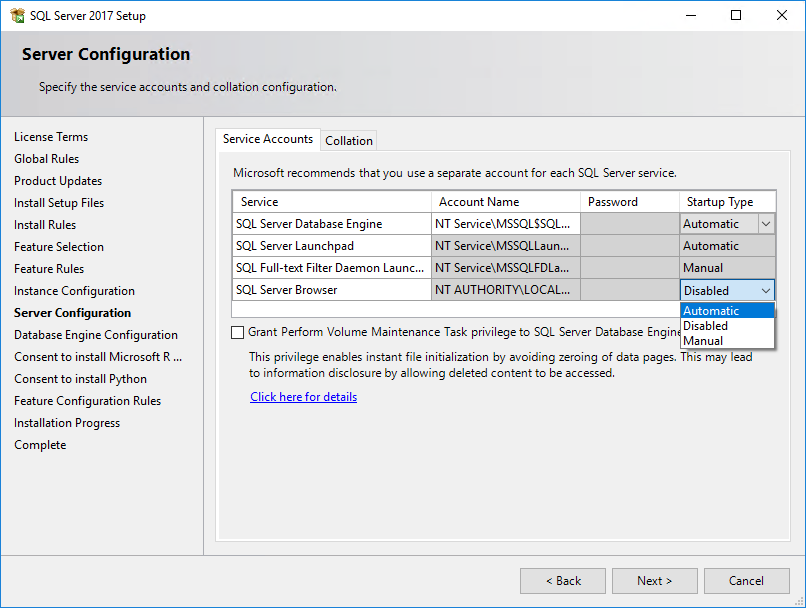
If you are using a multi-user program, change Disabled to Automatic. Click <Next>.
-
Change Windows authentication mode to Mixed mode (SQL Server authentication and Windows authentication), enter a password and click <Next>.
This password is used to connect to the SQL Server instance. The password 'rw4!123' is the SDR Software Support standard.
-
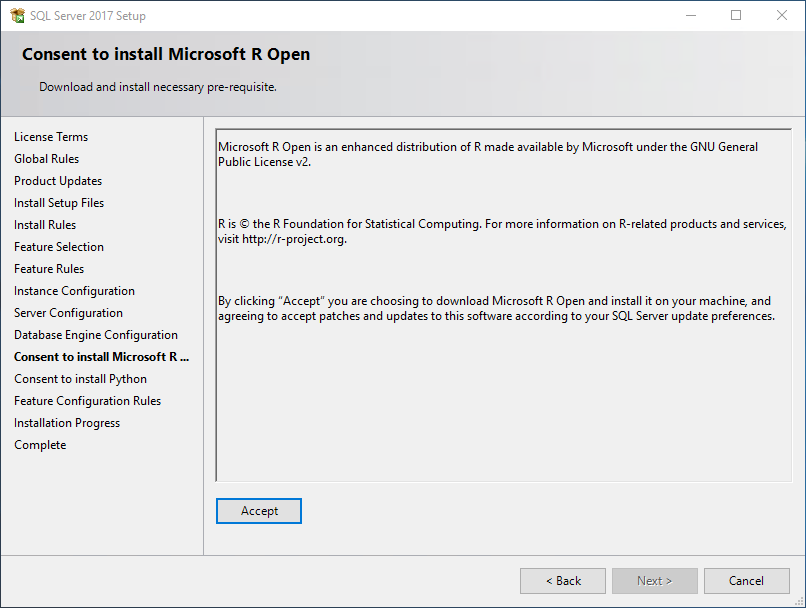
Click <Accept> and <Next> to install Microsoft R Open.
-
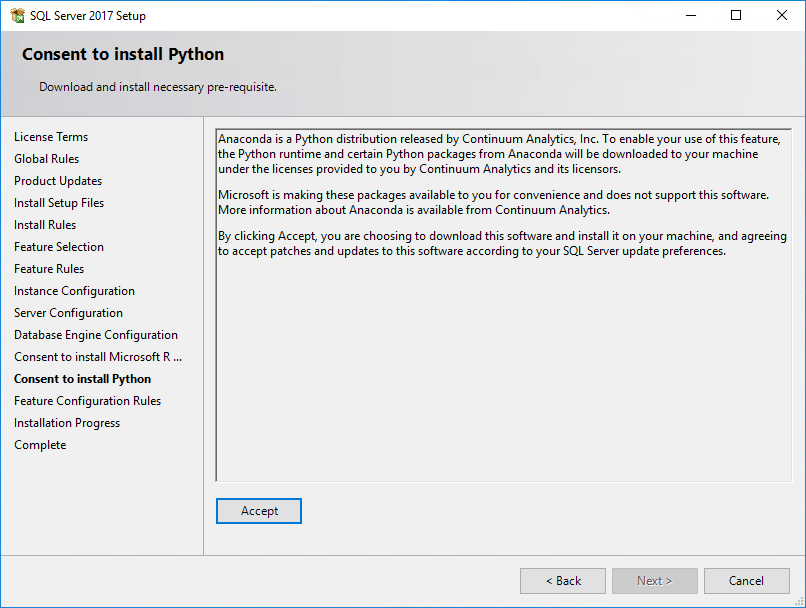
Click <Accept> and <Next> to install Python.
-
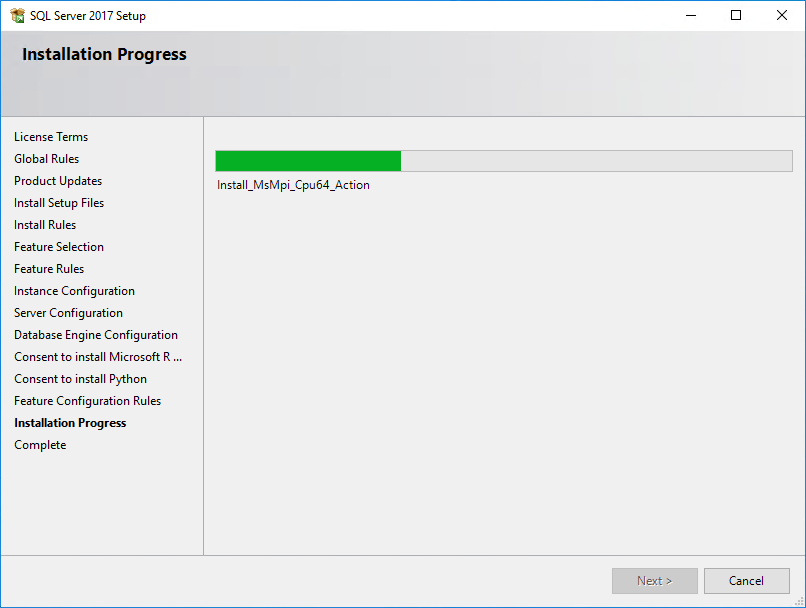
Wait for the program to install.
-
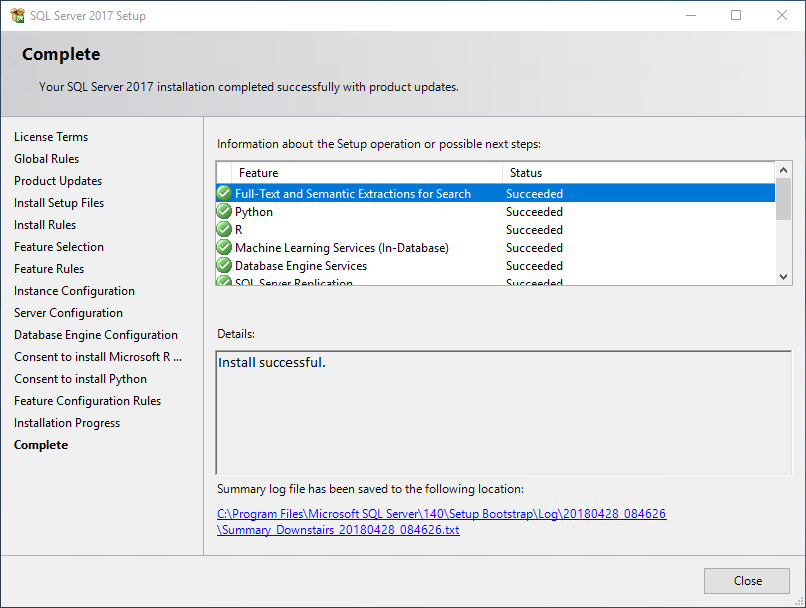
Click <Close> on the Complete window.
SQL Server Management Studio (SSMS)
- Download SQL Server Management Studio.
-
Click <Run> on the File Download - Security Warning.

-
Click <Yes> on the User Account Control prompt.
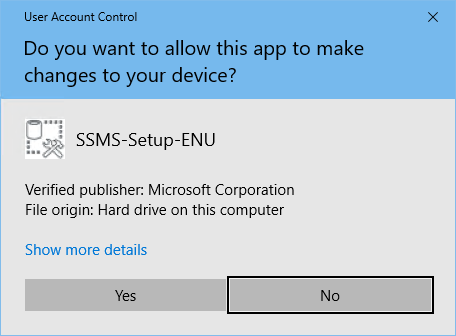
-
Click <Install> on the User Account Control prompt.
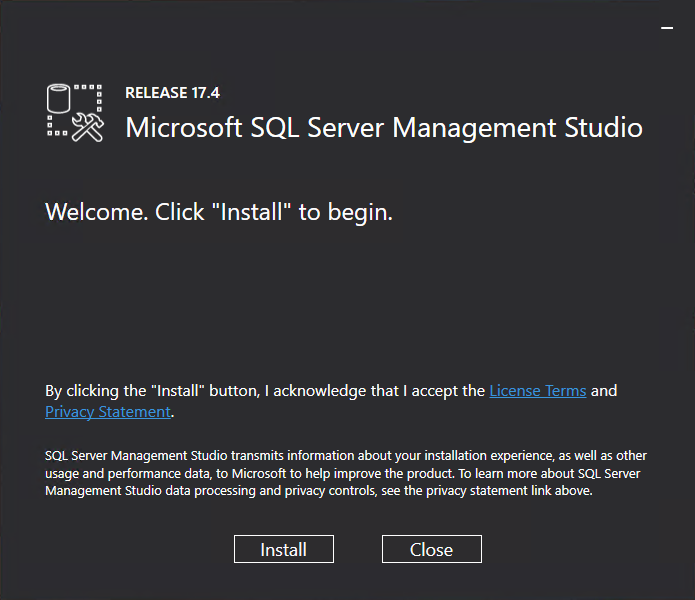
-
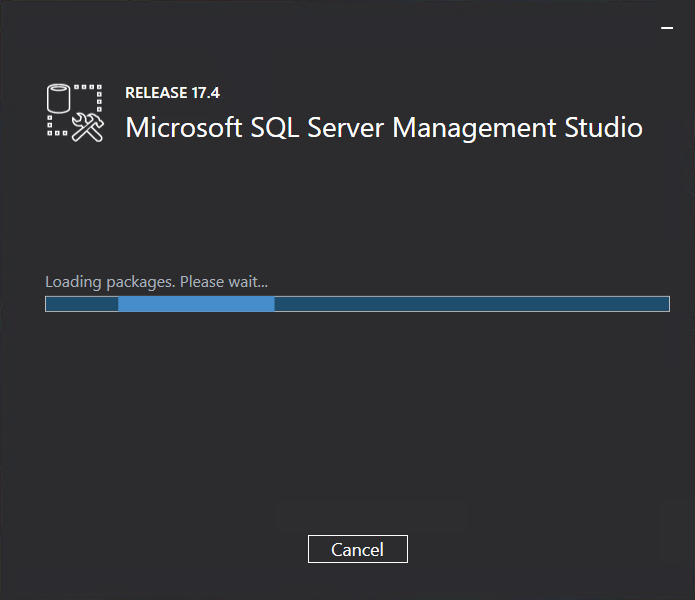
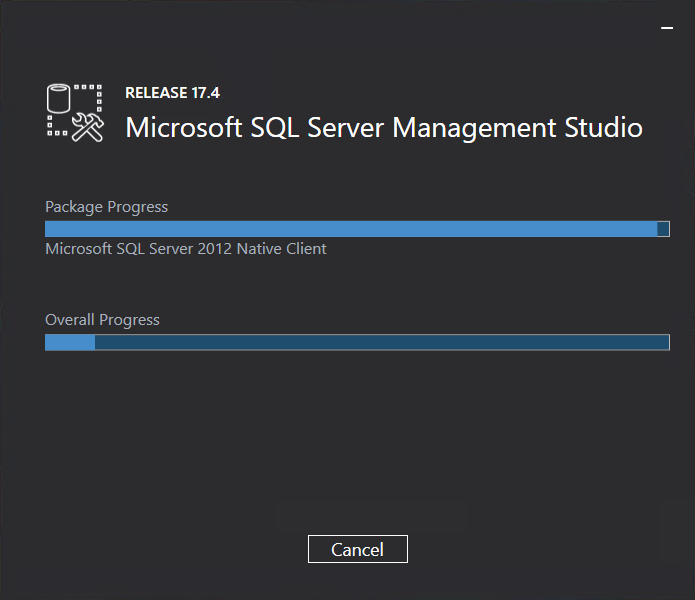
Wait for the program to install.
-
Click <Restart> if prompted to restart the computer or click <Close>.

Allowing Access to the SQL Server from a Remote Computer
SQL Server Configuration
-
Open the SQL Server Configuration Manager and click <Yes> on the User Account Control dialog.

-
Select SQL Server Network Configuration and Protocols for Instance Name.
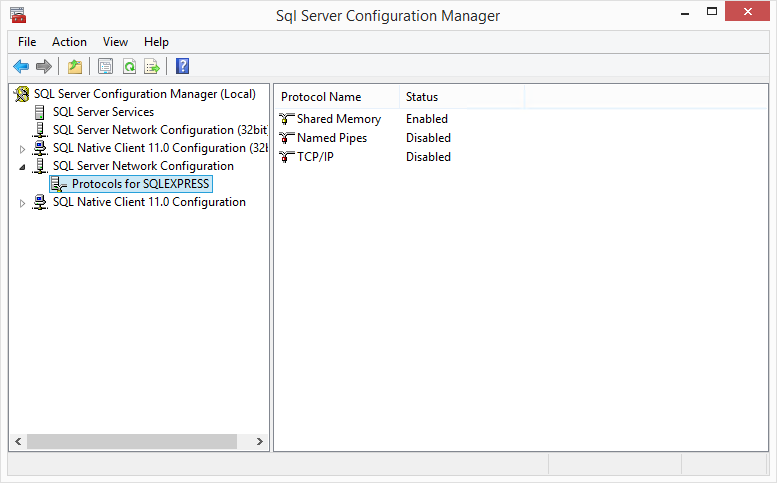
-
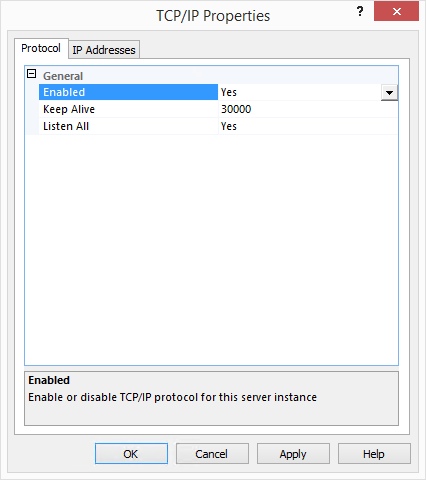
Double-Click the TCP/IP protocol, change Enabled to Yes and click <OK>.
-
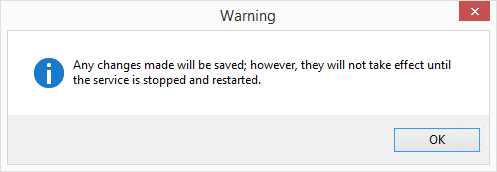
Click <OK> on the Restart dialog.
3rd-Party Firewall
-
Port:
- Using a Named Instance: UDP Port 1434.
- Using the Default Instance: TCP Port 1433.
- Program: 'C:\Program Files\Microsoft SQL Server\MSSQL14.Instance Name\MSSQL\Binn\sqlservr.exe'
- Program: 'C:\Program Files (x86)\Microsoft SQL Server\90\Shared\sqlbrowser.exe'
Windows Firewall
-
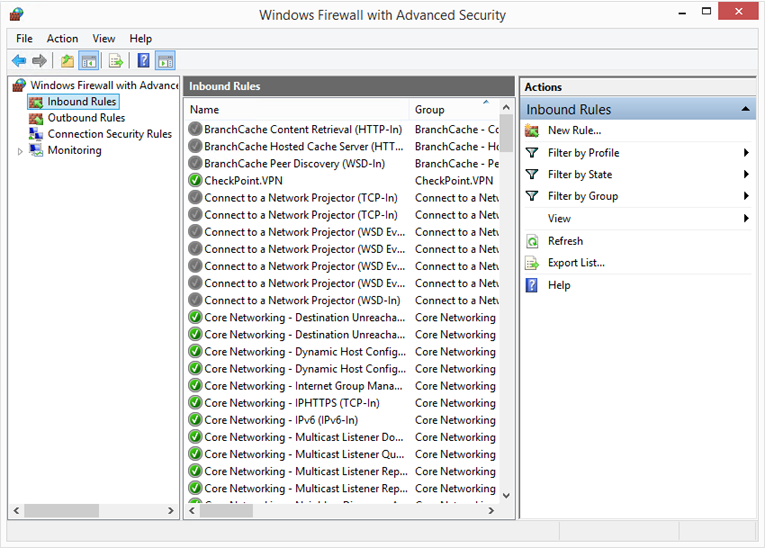
Open the Windows Firewall with Advanced Security.

-
Select Inbound Rules.
-
Select New Rule, Program, and click <Next>.

-
Click Browse, navigate to 'C:\Program Files\Microsoft SQL Server\MSSQL11.Instance Name\MSSQL\Binn\sqlservr.exe', click <Open> and <Next>.
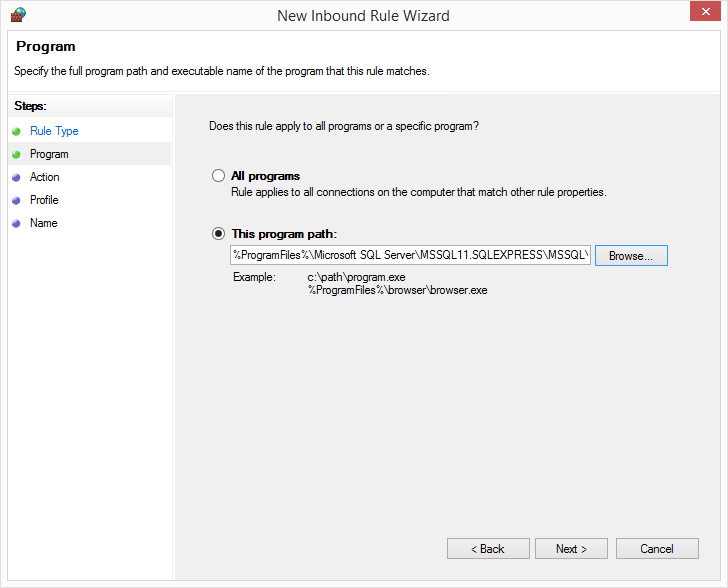
-
Click <Next>.
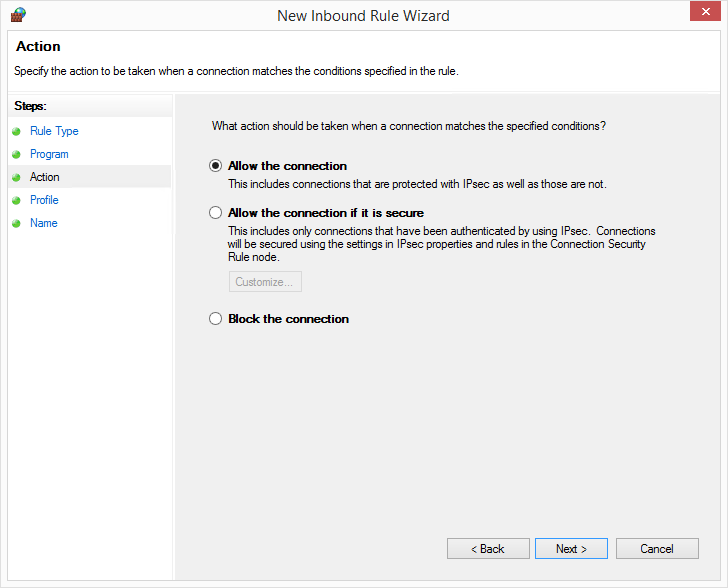
-
Click <Next>.
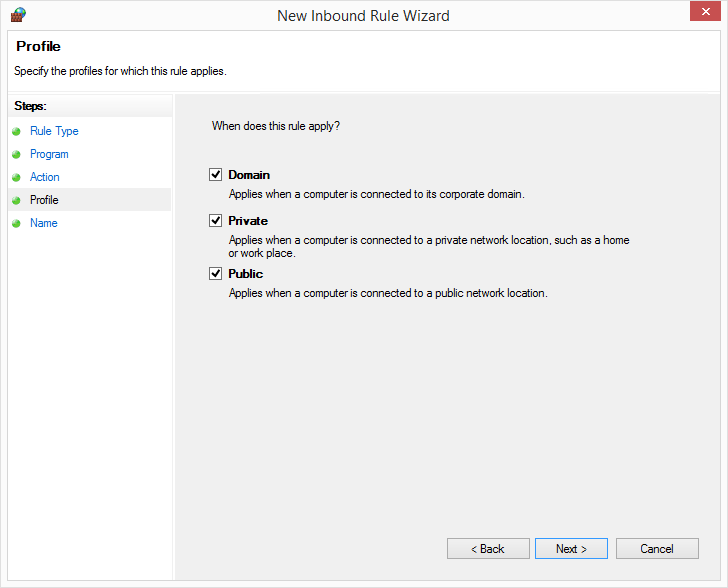
-
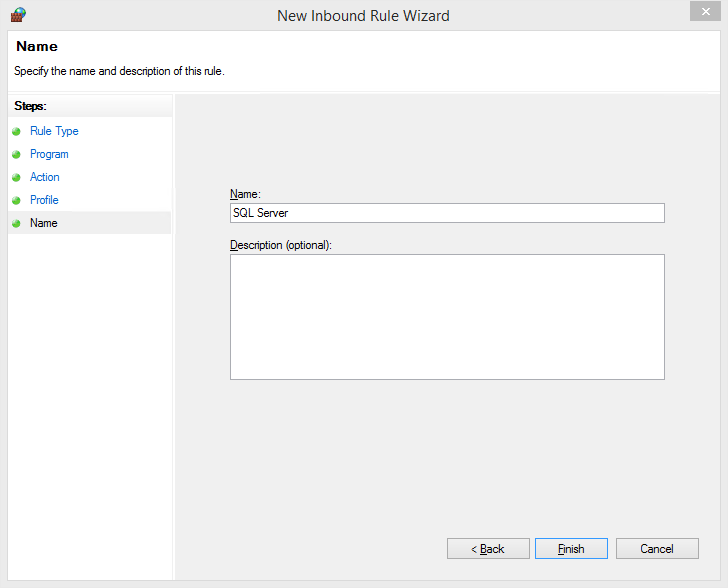
Enter the name for the rule 'SQL Server' and click <Finish>.
- Repeat steps #3 thru #7 but choose 'C:\Program Files (x86)\Microsoft SQL Server\90\Shared\sqlbrowser.exe' for the Program (step 4) and 'SQL Browser' for the Name (step #7).
-
Select New Rule, Port, and click <Next>.
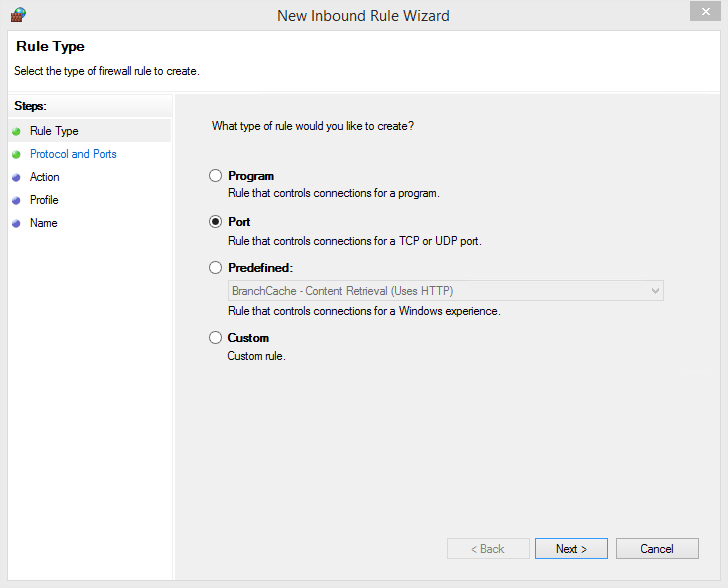
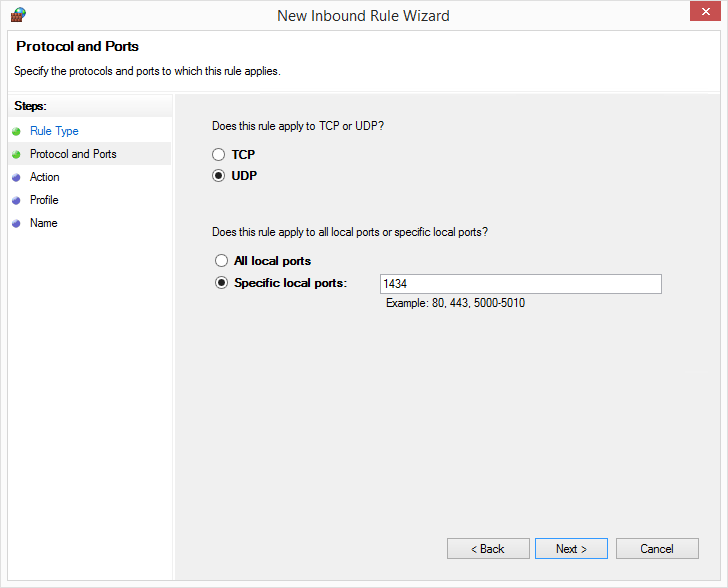
-
- Using a Named Instance: Select UDP, Specific local ports, enter '1434' and click <Next>.
- Using the Default Instance: Select TCP, Specific local ports, enter '1433' and click <Next>.
-
Click <Next>.
-
Click <Next>.
-
- Using a Named Instance: Enter the name for the rule 'SQL Browser UDP Port 1434' and click <Finish>.
- Using the Default Instance: Enter the name for the rule 'SQL Browser TCP Port 1433' and click <Finish>.